EMI Measurement Application - How to guide
This step by step guide explores using RIGOL's EMI Measurement Application throughout the Pre-Compliance test process including:
- Radiated Test Setup using a TEM Cell
- Setting up Traces and Detectors
- Scan Configuration
- Identifying Peaks
- Limit Lines and margins
- Interactive Measurements
- Comparing product versions
- Test Automation
- Saving and using test setups
- Report generation
Radiated Test Setup with a TEM Cell
A TEM Cell is a great option for some Pre-Compliance tests where Near Field Probes don't provide enough repeatable data, but a full chamber is unnecessary or cost prohibitive.
Take a look at the test setup we will use for our step by step guide through EMI measurements.
Configuring Traces & Detectors
An important first step for Pre-Compliance is selecting the detectors to start with. Different detectors may limit your sweep speed and change the meaning of the results. Learn how to set up detectors and traces.
In EMI mode select from these CISPR detectors:
- Peak (pos or neg)
- Quasi-Peak
- CISPR Average
- RMS Average
- Average
Scan Configurations
Built-in scan table with independent settings for each range make it easy to configure complex scans with multiple detectors all on one screen.
Identifying Peaks
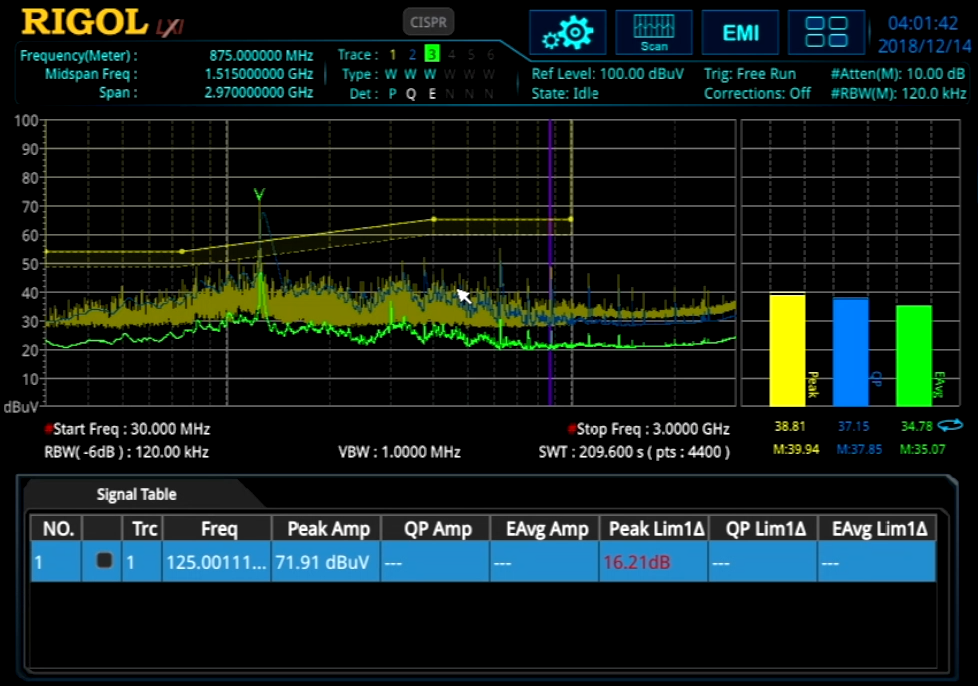
Analyze data from a completed scan against limit lines and search for peaks. Isolate these signals for further examination automatically.
Move between signals in the easy to use search results table.
Limit Lines and Margins
Access the built in limit lines or configure your own for custom testing. Use the limits and margins when searching for signals of interest or for interactive measurements using multiple detectors.
Interactive Measurements
EMI Mode shows live measurements of markers or signals against multiple detectors simultaneously simplifying comparison and analysis.
Comparing Revisions
Pre-Compliance testing is about more than just recording emissions. Use the EMI Application to compare between board revisions making sure the product is getting close to compliance as it gets closer to launch.
Test Automation
Make EMI measurements simpler and faster by automating the process. Combine scans, searches, and interactive measurements. Also conduct further analysis on signals of interest with a single button on the same instrument engineers use for advanced debugging of emissions and signals.
Saving and Using Test Setups
Relative measurements are critical in EMI:
- How does the good board compare to the failed board?
- How does this look with the CISPR Average detector or against another limit line?
- Is that coming from the device or the environment?
Learn how to create, organize, and open complete test setups for comparison and data recording. Setups can include data traces and instrument configuration details.
Report Generation
Once the testing and debugging is complete, use the EMI Measurement Application to generate complete test reports with notes, screenshots, and data.
Integrate test, debug, and reporting all on one platform for consistency and productivity.
Watch the EMI Mode create html and pdf reports for the test archive.
Susceptibility testing with a Signal Source and a TEM Cell
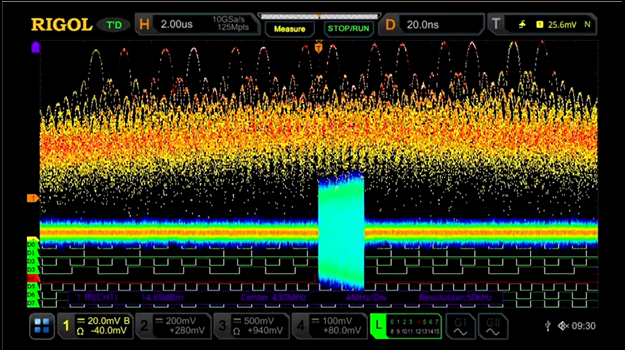
TEM Cells can also be used in susceptibility or immunity testing. Functional testing during emissions is a simple validation step. Here is an example using the DSG800 signal source and the MSO7000 Oscilloscope.
